How to Cover a Journal With Scrapbook Paper
DIY Upcycle: Scrapbook Paper Journal
By: Serena Appiah
Getting Started
A DIY scrapbook paper journal is of those easy craft ideas that satisfy your soul. It only takes 10 minutes, but when you're done, you walk away feeling like Martha Stewart (even if you're not the creative type).
And this year, I have big goals for doing room makeovers in my home, and these DIY journals are the easiest way to track my progress over 30-60 days.
Here's how to make it and get cute scrapbook ideas.
You Will Need
-
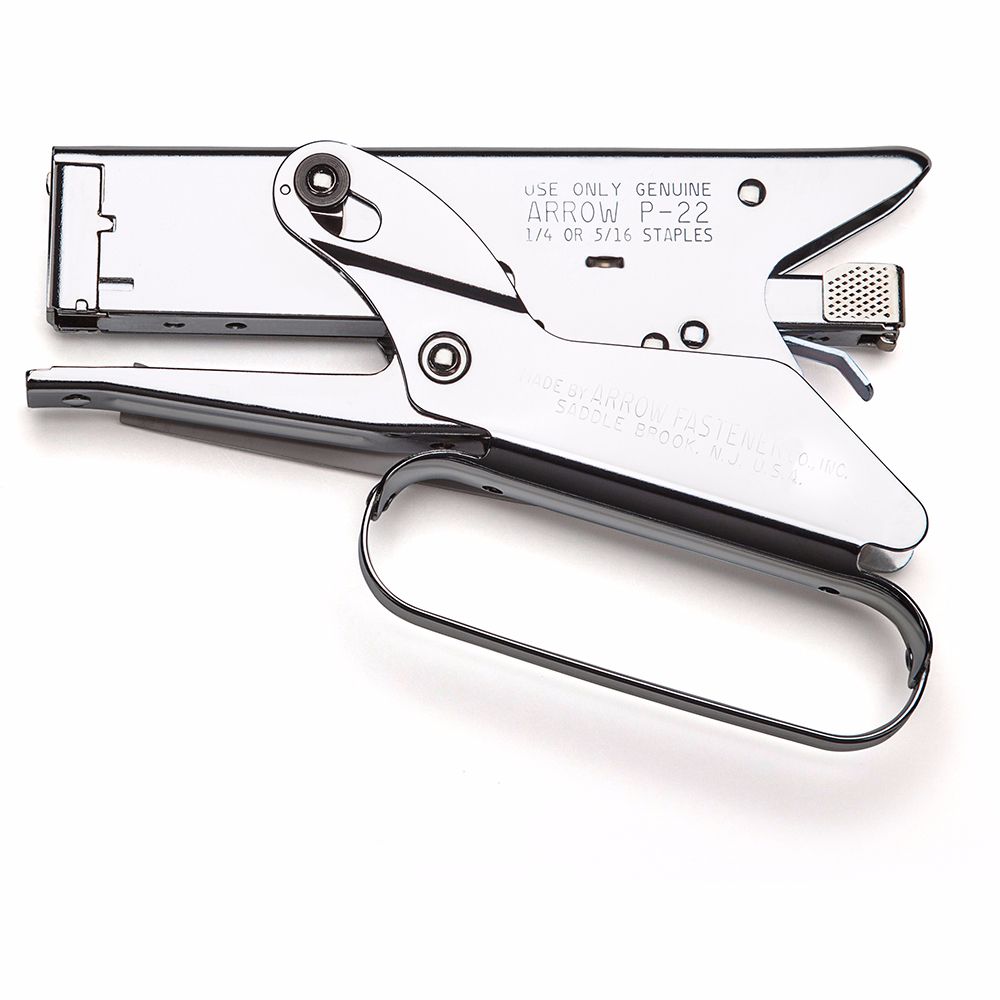
P22
Plier Stapler
Learn more Buy NowX Get Your Shop On
P22
Plier Stapler

-
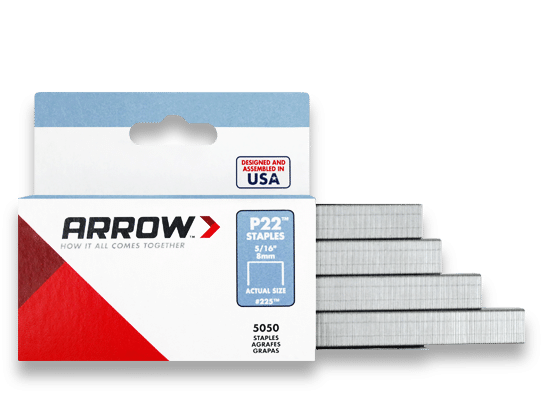
P22
225 (5/16")
Learn more Buy NowX Get Your Shop On
Staple
225 (5/16")
Materials Needed
Other Materials
- Thick premium scrapbook paper
- Room Makeover Journal (Download printable sheets in STEP 2)
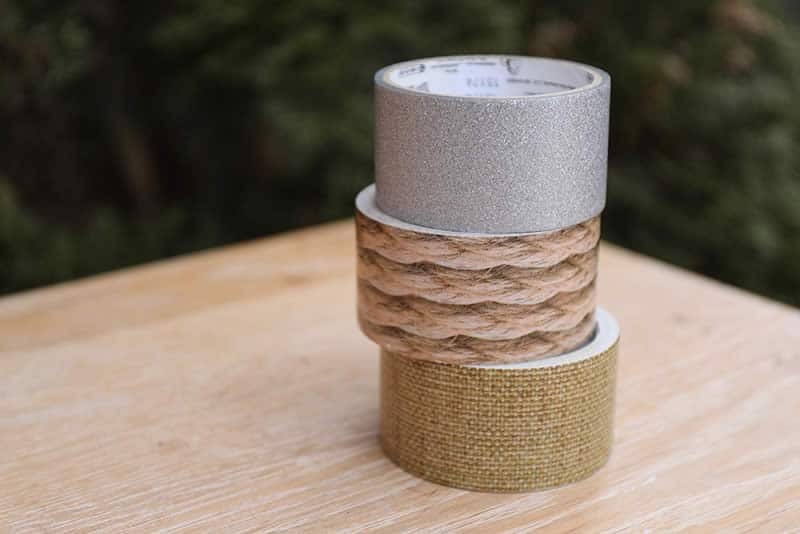
- Decorative tape
- Scissors
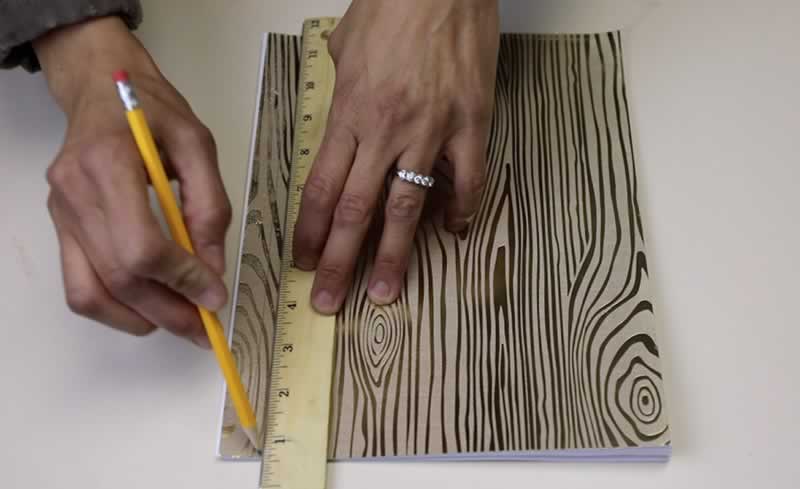
- Ruler
- Pencil
Project Video
Step 1
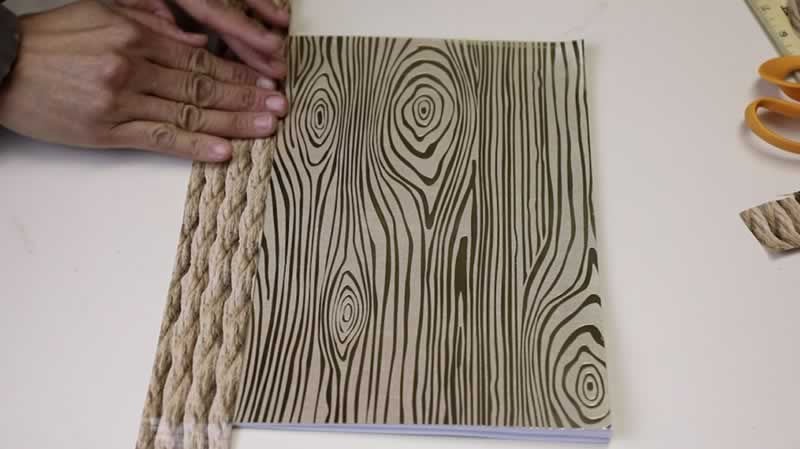
For this journal notebook, I chose gilded paper with a wood design. There are many options you can choose from, but make sure to pick thick, premium paper that can easily be a DIY journal cover. Once chosen, cut the scrapbook paper to 8.5" X 11".
For this journal notebook, I chose gilded paper with a wood design. There are many options you can choose from, but make sure to pick thick, premium paper that can easily be a DIY journal cover. Once chosen, cut the scrapbook paper to 8.5" X 11".
Step 2
It's time to download and print out the 'Room Makeover Journal' sheets for the content of the DIY journal. These sheets will help you:
• Commit yourself to making over a room in your house in 30-60 days
• Identify your challenges and solutions to your room makeover
• Create a list of materials needed
• Track your to-do list each week
• Track your total expenses
Once you've downloaded the sheets, print the content using premium paper.
Step 3
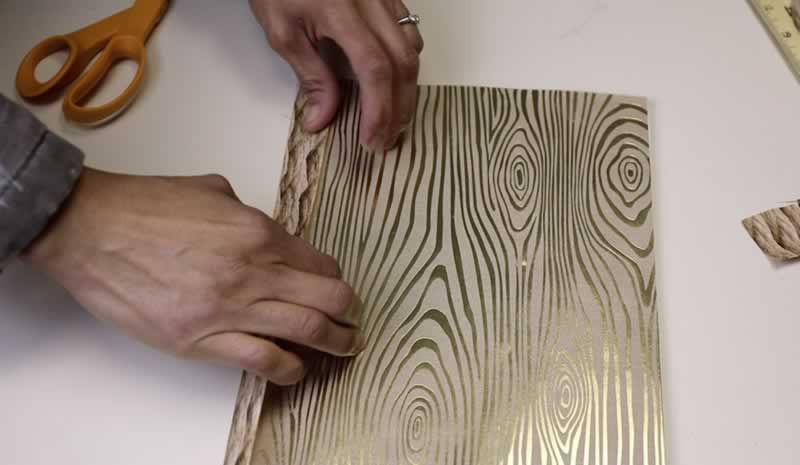
Now that you have the cover for your journal and the sheets that go into it, it's time to staple the DIY journal together. I'd recommend testing out the stapler on comparable scrap paper first so you know how many sheets would work with your paper thickness. The goal is to get three clean staples along the DIY journal edge.
Once you have a good feel for the stapler and the paper, use the P22 Plier Stapler with the 5/16" staples to bind the journal.
Step 4
It's time to disguise the staples with fun, decorative tape.
-
-
I used a ruler to draw a straight line along the stapled edge of the DIY journal notebook.
-
Then I lined up the duct tape with that line and pressed hard to remove any "bubbles."
-
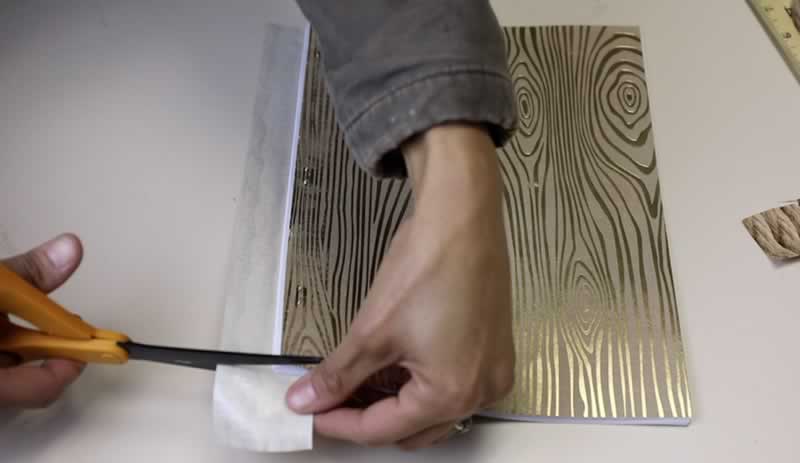
I flipped it over and trimmed off the edges of the tape.
-
After trimming, I flipped the tape over the back of the journal, covering the back staples, and pressed.
It's time to disguise the staples with fun, decorative tape.
Step 5
Add a decorative label (if you want to).
Add a decorative label (if you want to).
Finished Product
These notebooks were so easy and fun to make, I couldn't help but to make five of them! For each room makeover, you can create a new journal to track your projects over the course of 30-60 days, including your weekly reflections about how your progress is going.
-
How To: Stool Makeover
Read more
-
How To: No-Sew Bench Cushion
Read more
-
How To: Cane Chair Makeover
Read more
Arrow Fastener on Pinterest
Follow on PinterestHow do you Arrow?
#madewitharrow
Follow on InstagramSign up for Some Awesome
Get Arrow tips, tricks, projects and promos in your inbox!
Looking for something specific?
Search here and we'll show you what we find!
Hey there! We've updated our Privacy and Cookie Policies at the request of some of our friends in Europe. Click Accept to let us know you're okay with the updates. Thanks!
View Cookie Policy AcceptHow to Cover a Journal With Scrapbook Paper
Source: https://arrowfastener.com/projects/scrapbook-paper-journal/
0 Response to "How to Cover a Journal With Scrapbook Paper"
Post a Comment